Showing posts with label Easter. Show all posts

Friday, March 31, 2017

Fabric Bunny Basket - Free Pattern


Spring is my favorite time of year. When I was a kid, I always equated it with my birthday and Easter. Two celebrations that meant lots of treats and lots of family time. 

So to kick off this Easter season, I'm sharing with you how to make this cute fabric bunny basket. It's perfect for filling with treats or goodies and giving to a grandchild or anyone else. 

Bonus, this container also works great as a bread basket for your Easter meal. Since it's lined with batting, the batting will help keep bread warm. Keep reading because I have a rare treat for each of you. 


Here is the free downloadable fabric bunny basket pattern. Print the pattern at full scale or if you want a doll bunny basket, shrink the pattern down by at least 75%.


Supplies needed:
  • batting
  • coordinating thread
  • embroidery floss, white, black and pink
  • (1) 3" white pom pom
  • 1 /4 yard of fabric
  • 1/4 yard fabric for lining
  • 1/4 yard of light to medium weight interfacing
  • 1/4 yard of heavy weight interfacing for the bottom of the basket

Directions:


Using the pattern above, cut out all the pattern pieces.

For the handle, cut out a 5" x piece from the lining fabric.
*1/4" seams unless otherwise noted.


1.  Sew ear lining to ear fabric, right sides facing.
2.  Turn right side out and clip the curves.  Iron. Top stitch around the ear.
3.   Fold the bottom of the ear in half.  Sew 3/4" up from the bottom & 1/4" from the edge.
4.  Your bunny ears will now look like this.
5.  Hand embroider the face onto the bunny's head. Pin interfacing & then batting onto the head.
6.  Baste in place.
7.  Pin the sides to the bunny's head.  Sew in place.
8.  Baste the ears onto both sides of the side seams.
9.  Pin the bunny sides and head to the bottom, easing as necessary.


10. Trim interfacing & batting down by a little less than 1/4". Baste interfacing &  batting onto bottom of lining. Add batting & interfacing to the sides of the lining. With the lining fabric, repeat steps 7 & 9.
11.  Add interfacing to the handle fabric.  Take the handle fabric and iron it in half width wise.  Fold the width in toward the ironed fold and iron the raw edges. When finished the handle's raw edges will be in the center of the handle. Top stitch both edges of the handle.
12.  Sew the handle edges onto the middle of the fabric basket.
13.  Right sides together, handle tucked into the middle, pin the lining to the basket.  Sew around the basket's top edge, leaving a 2" opening to turn the basket.
14.  Turn the basket right side out.  Iron the edges.
15.  Top stitch around the edge of the basket.
16.  Hand sew the pom pom to the back, bottom edge of the basket.
17.  Completed front view.
18.  Completed back view.


Now it's time to fill that basket with old fashion goodness.
 
Here is my little treat for you (so thanks for reading if you got this far)! This recipe is my husband's grandmother's recipe for potato yeast rolls. And they are divine!

My husband remembers having contests with his cousins and brothers to see who could eat the most rolls. These rolls are soft, light and melt in your mouth kind of good. (Add butter, cinnamon and sugar and the dough works great for making cinnamon rolls too.)
   

Grandma Cox's Potato Yeast Rolls

1/3 c. warm water
2 packages of yeast
3/4 c. sugar
2 c. milk
1/2 c. shortening
8-9 c. flour
1 medium potato
2 tsp. salt


Add yeast to warm water.  Stir until dissolved.  Stir into yeast and water the sugar. 
(This is a great way to test your yeast and make sure it’s working…the sugar will make the yeast foam).

Peel the potato, dice into pieces.  Boil 1 potato in 1 1/2 c. of boiling water (until the pieces are really soft). 
Do not drain off any water which has not boiled out of the potatoes!

Add milk and shortening.  Beat until really smooth.
Add 2 tsp. salt and yeast mixture.
Stir in flour.  When the mixture is too thick & you can’t stir any longer, start kneading the flour into the dough.  Do not add too much flour, the mixture will feel a little sticky. 

Spray a bowl with cooking spray.  Add the dough into the bowl.  Cover the dough with a clean tea towel.  Let the dough rise in a warm spot.  About 1-2 hours.

Roll the dough out until it’s around 1/2” thick.  Cut out your rolls using a round cookie cutter.  Dip one side in melted butter and fold over.  Place onto a cookie sheet.  Cover your rolls with a clean tea towel and let rise again until double in size.

Bake at 400 degrees for 8 minutes.

Throw these rolls in your new bunny basket and your Easter is off to a really good, yummy start! Enjoy Easter with your family.  xoxo Grandma

Monday, March 7, 2016

Layers of White Dress


A white dress is a classic for any little girl.  This layers of white dress was super easy to make and a good way to use up random pieces of white and off white trim.

I started this dress with a basic white tee shirt that I purchased for under four dollars from Walmart.  I cut 3" off the bottom of the tee shirt.  I next ruched the sides by sewing onto the seam 4" of elastic, which I stretched as I sewed it in place.


Then I added some stretchy off white lace around the neckline.  I cut out a 3" by 4" pocket from some leftover white knit tee shirt fabric and added a scrap of off white lace to the top of that pocket.  I then sewed the pocket onto the tee shirt.

Using more leftover lace, I even made her a coordinating headband.


Next, I added layers of white and off white lace to form a skirt around the tee shirt.  


My granddaughter wore this dress on the day her baby sister was blessed in October.  (If you'd like to see the dress her baby sister wore, which of course this Grandma made, go here.) I made the dress a little big, hoping it would fit her this spring.  She's grown up a lot since these photos but it still fits perfectly for an Easter dress.  Happy Easter all! 
xoxo Grandma

Linked to:  Project Run & Play

Wednesday, January 27, 2016

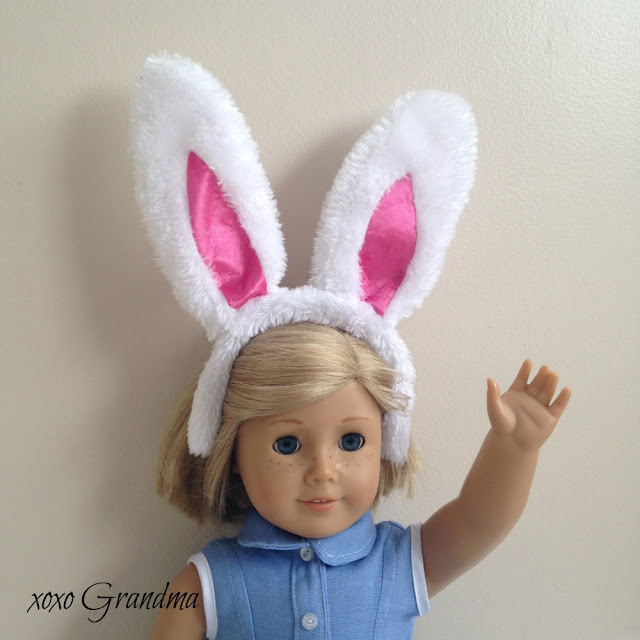
Make Easter Bunny Ears for Your Doll


You might think it's too early to think about Easter but this year it happens to fall on March 27th which is exactly two months from today. This is another easy project that even someone with a broken arm (like me) can do. 

First, purchase a bunny headband designed to fit a child. I found mine at Target on sale last year for 25 cents each.  They actually fit adults but the only time this adult put them on was to be silly with my grandchildren.  Then, after a little destructive action, turn it into Easter bunny ears for you doll. Here we go...

  1. Open up the seams of your bunny headband and remove the bunny ears from the headband.  Throw away the headband, unless you think you'll use it for something else.  Rewrap the wires to form a doll sized headband.  You may need to use an additional wire for this step. 
  2. Wrap the fur around the new wire, pinning as you go.  Cut off the excess bunny fur from both ends.
  3. Wrap the fur ends up toward the bottom wires.
  4. Pin any additional places and with a needle and coordinating thread, sew the fur back together (I must mention, that with a broken arm this step took twice as long as it normally would have taken).


Here's a close-up photo of step number 4 - sewing the headband back together.


Pretty simple, right? And oh so cute!  Happy Easter preparation everyone! xoxo Grandma

Thursday, April 10, 2014

Super Simple Carrot Container


If you are like me, you enjoy giving away treats to neighbors and friends during the holidays. Easter is no different at my house. Of course, I am always trying to find ways to spruce up holiday containers to stash those treats. This year I am using these cute little carrot containers. 

The best part about them, besides being darling, is they are super easy to make! This carrot gift container requires just one straight seam. That's right... just ONE! 

Let's get started! Download the pattern HERE. Now follow the steps below:

Now for the fun part begins, fill that fabric carrot with a treat! 


Add a little green raffia to tie this carrot container closed and your yummy carrot is ready to give away.  xoxo Grandma

Linky Parties: The Dedicated House: Before and After

Thursday, March 13, 2014

Felt Carrots for Easter


Looking for a cute Easter decoration? Below is a tutorial for making super easy and versatile felt carrots.  To start this project, you'll need one piece of orange felt.  (FYI: one piece of felt creates 7 carrots of various sizes). You'll also need a scrap of green felt or green ribbon no wider than 1/4".  These carrots make super cute accents to any Easter project.  And, children also like to play with felt food, so this is fun for kids too. If you want a felt carrot, download this pattern and let's get started making your carrots:


Add to the top of your carrot a little greenery cut from felt.  Roll the felt into a circle and stitch the end to hold it in place.  Now add it to the middle of the opening.  Stitch the opening of the carrot closed making sure you stitch through the greenery several times.


This is how your carrot should look with the felt greenery. 


Pattern variation: you can also add ribbon for the greenery by folding ribbon into thirds and stitching it in place, as seen in the first photo on this post. 

*I'd like to publicly announce the winner of the American Girl Doll outfit.  The winner is Cheryl Bush of Michigan.  Once again, thank you to all of your who entered and left such sweet comments. xoxo Grandma

Thursday, March 6, 2014

Downloadable Easter Tags - Free

First, I get to announce the winner of the child's book called, "My Far Away Grandma"  
Thanks for all those who entered!  Congratulations to Corinn Cattermole.  Please e-mail me with your address.  Remember, if you didn't win, the book can be purchased at this site.

Now onto today's creation...
Here's an Easter tag that I've created and is all you have to do is download and print in full color onto heavyweight cardstock (un-check the "fit to page" before you print).  Say it with me, "Easy, easy, easy!" 

I get to have three of my grandchildren here for Easter & am so excited!  What kind of Easter plans do you have? xoxo Grandma

Tuesday, March 4, 2014

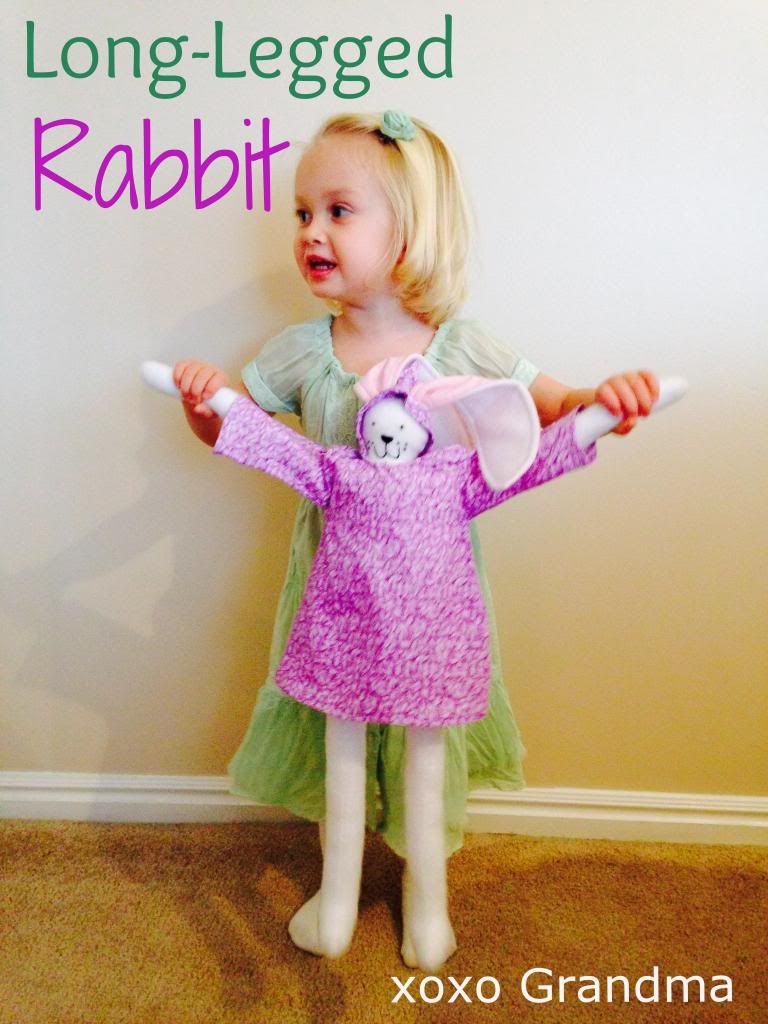
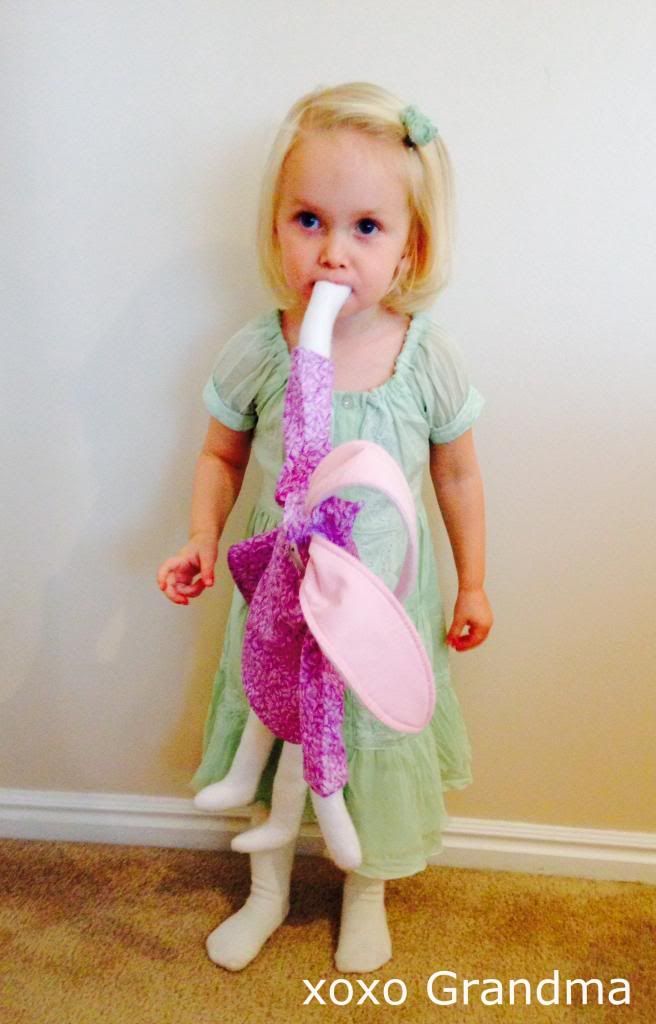
Long-Legged Rabbit - Free Pattern & Tutorial

After I made my long-legged Santa, I started thinking that this same pattern could be tweaked a little to make a long-legged rabbit.  It turned out pretty cute!  If you think so too, here's what you'll need: go to this post to download the free pattern for the long-legged Santa.  Now, download and print this free pattern for your long-legged rabbit's ears HERE.  Make sure you print these patterns full size - do not print "to fit."  

Easter is about a month away-- just the right amount of time to make one or more of these long-legged rabbits. In reality, this project should take a few hours using the instructions below:
  • Cut out the pattern pieces omitting the gloves from this project. I used white fleece for the body and a thin pink cotton for the ear lining.
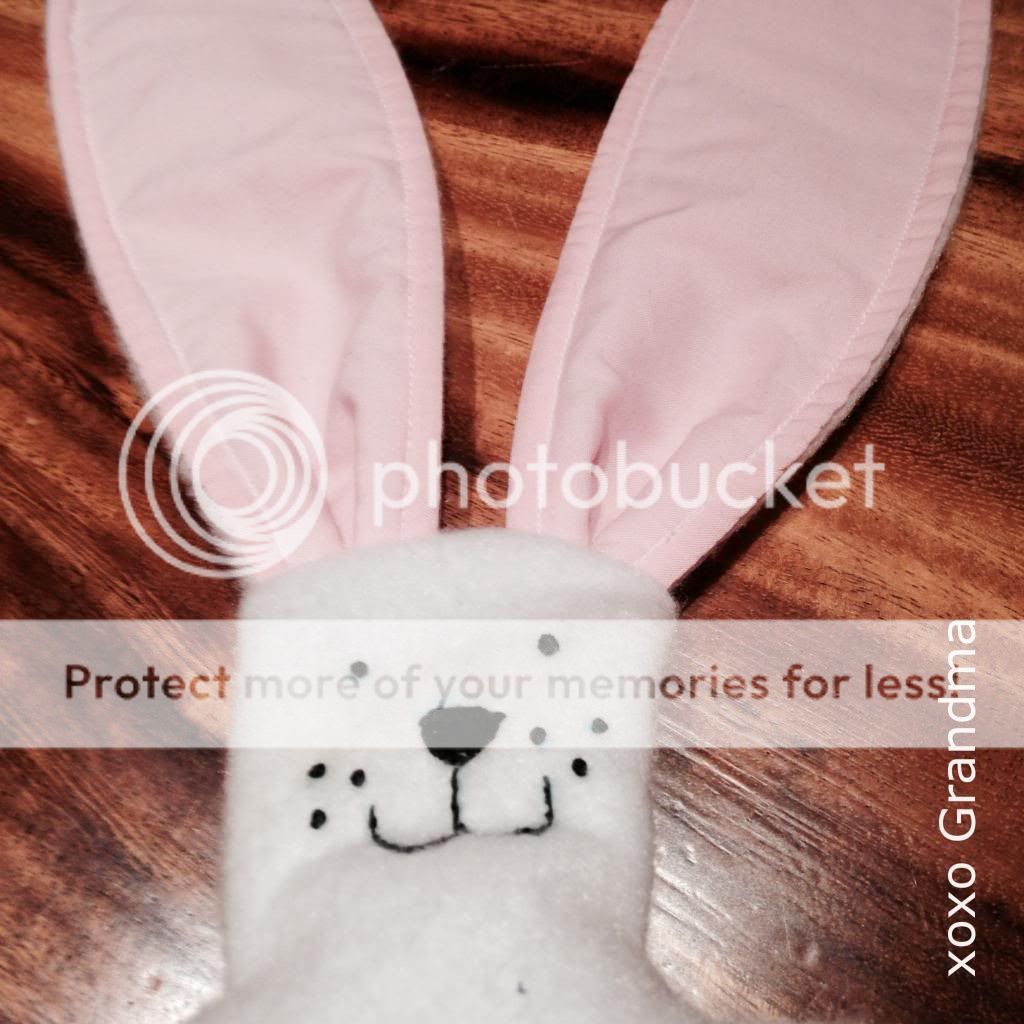
  • Embroider the rabbit's face onto one body pattern.
  • Sew the long ears together with a 1/4" seam.   
  • Turn the ears right side out and iron them.  
  • Top stitch at 1/4" around the edge of the ears.  
  • Pinch the ears together and make a 1/2" tuck in them.  
  • Baste the ears in place along the top of the head.  
  • Stitch around your rabbit making sure you tuck those ears in so they are not caught in the seams.  
  • Stuff the body except the head.  
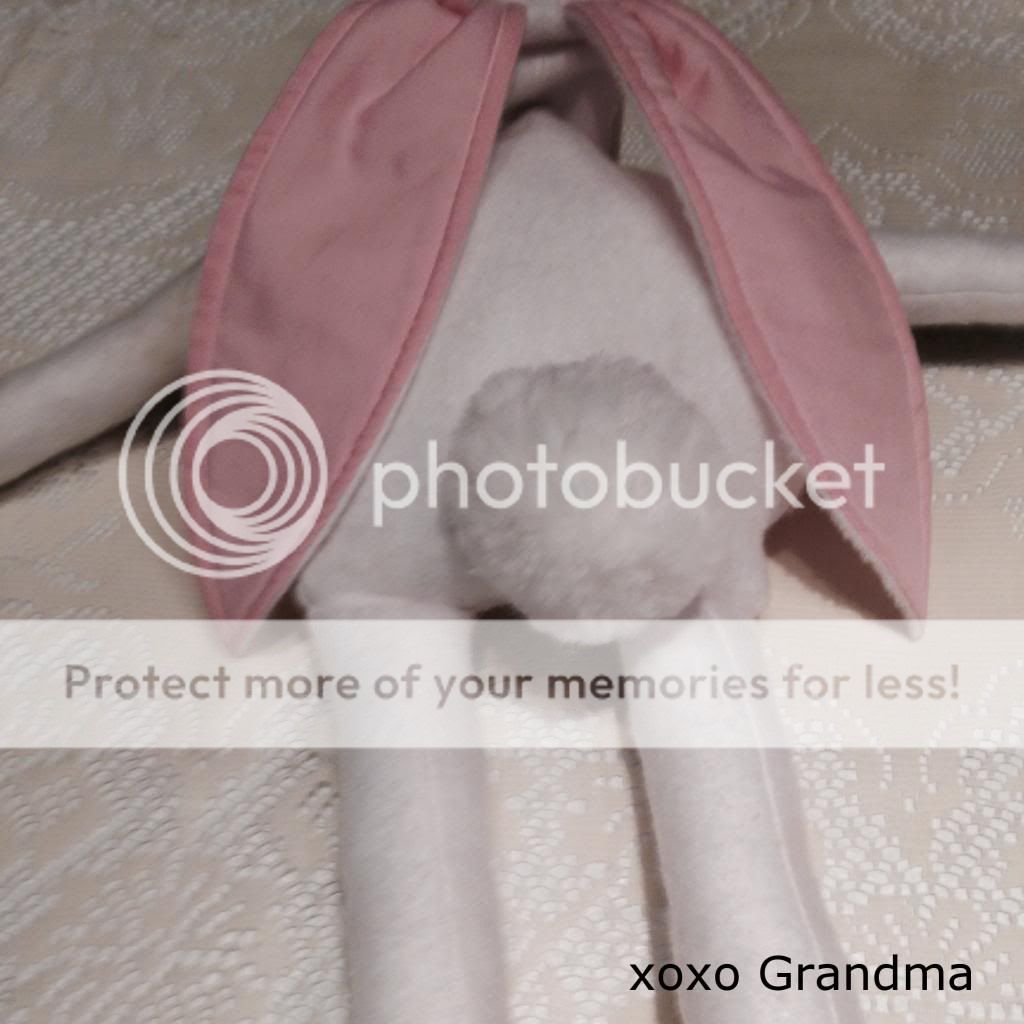
  • Pin the large cotton ball so the cotton ball is at the bottom of his bum & between his legs. 
  • Once you like where the cotton ball is located, hand sew that tail in place.
     
  • Make his coat.  (I made two hoods and used one to line the other since my coat was made out of a cotton fabric.  If you use fleece, you do not need to do this step.) 
  • Once the coat is sewn, try it on your rabbit.  
  • On the back of the jacket, mark the tail buttonhole about 2 1/2" up from center of the bottom hem.  This button hole needs to be 2" long.
  • About 3/4" from the edge of the hood and 1/2" from the center, mark both sides for the buttonholes for the ears to go through.  These buttonholes need to be 1 1/4" long.
  • Take the jacket off your rabbit and sew all three of these buttonholes.  I hand stitched mine with two strands of embroidery floss.
  • Now add the jacket back onto your rabbit and stuff it's head.
  • Sew the side opening on your rabbit closed.


Lastly, give this rabbit to a child and see how much fun they have with it.  
Apparently, this rabbit is fun to nibble on.

Thursday, July 18, 2013

Craft Month in July

My youngest daughter, Amy, decided that her goal for July was to be crafty.  Here she is sewing a bunny basket for her little boy on my machine. 

Back in March, she announced that her little boy needed a Easter basket. She showed me a photo of one she liked.  She then asked me to create it. So here's what I did: designed the pattern, showed her fabrics she could use, then cut the bunny basket out for her.  I then decided that when she came back home, she could sew it. She agreed.  I explained how I thought the fabric basket should be sewed & she went to town making it. I even got to help fix the machine embroidery because her bunny's smile just kept getting more crocked each time she sewed - unpicked - sewed - unpicked; you get the picture - but look how cute it turned out!  I'm sure my grandson will be a perfect age for enjoying Easter next year.

Amy's husband is in the Air Force and is doing his officer training all the way across the U.S. While he's doing this training, she's at our house with her adorable 14 month old.  Which means, babysitters for her child (when my husband & I are home from work), craft supplies & someone to help her when she's stuck on a project.  So far, she's finished this basket, sewn a cute maxi skirt (see below), painted a child's chair, made a necklace out of sea glass and embellished earrings.  She's also working on updating a lamp that was in her bedroom for her little boy's room.  She's quite the goal setting girl and has accomplished a lot with a busy little boy by her side. Amy is a beautiful daughter & a cute mom.


Below is a photo of my grandson who loves, loves, loves being outside. He wanted to explore instead of following his grandfather to church. A quick mom grabbed his hand & off we went. xoxo Grandma