Showing posts with label Fabric Art. Show all posts

Monday, April 3, 2017

Paper Lantern Festival - Wall Mural

In January, I spent time in Japan visiting my daughter's family. While there, we attended the the Ryukyu Lantern Festival, which display around 5,000 Chinese lanterns that adorned the premises of Murasaki Mura in the village of Yomitan.


In the dark night sky, the paper lanterns glow and sway in the light breeze.


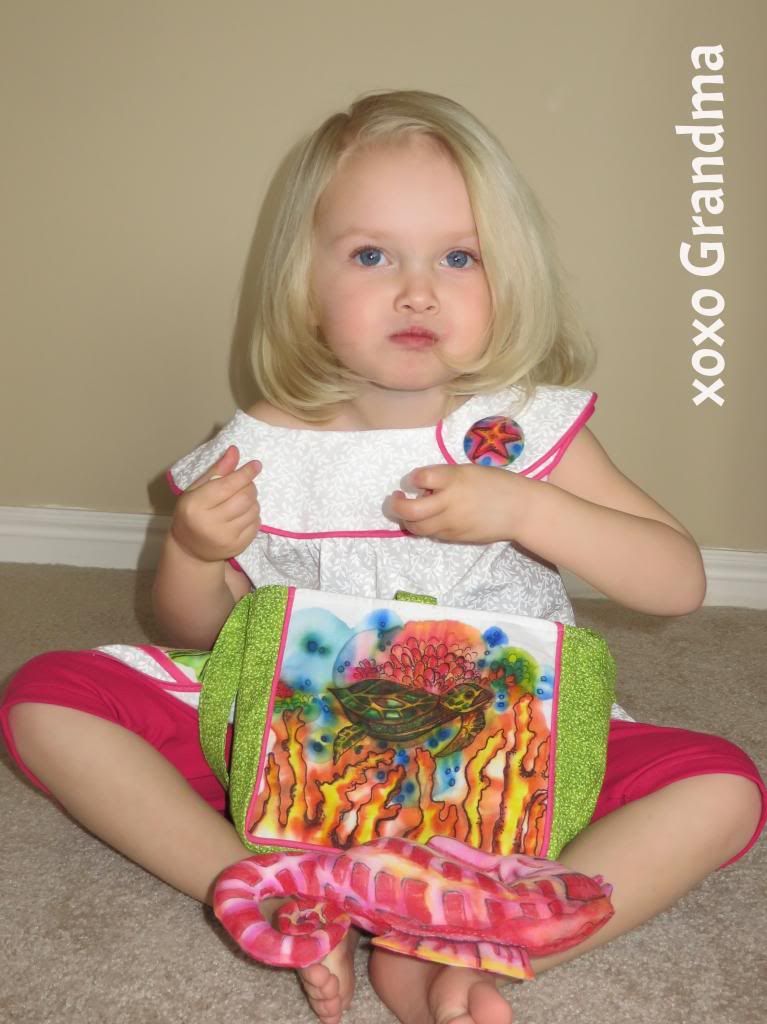
Murasaki Mura is a popular cultural theme park, hence the funny panda pretend ride with one of my granddaughters. This theme park features a typical Ryukyuan town from the 14th and 15th centuries. 

It was so pretty to see all the variety of illuminated lanterns. 


When I came home, I discovered a book called "Kake-Juke" where the author, Kimiko Sudo, a fabric artist, told stories of her life using fabric textile scenes.


When I saw her Japanese lanterns scene, (pictured above) I got a little excited and wondered if my daughter would like her own lantern wall mural to remind her of this festival. I sent my daughter a photo of the design I saw in this book. She said she liked it and if I wanted to create this scene for her family, to go ahead and make her whatever I wanted. So, I did. Of course.

I used the artist's designs but instead of only quilting the lantern on the left, I used my Japanese fabric scraps to make the black, floral lantern too.

In the book, the artist hangs her murals on a bamboo hanger, exactly like the one above that I found on Amazon. Here is the link if you want one too.


I love the details achieved by using the Japanese fabrics. The black cording made perfect hangers for the lanterns. I burned the edges of the cording hangers so they wouldn't fray.


I've completed one more mural which I'll show you at a later time. Until then, enjoy this little video from the lantern festival. I'm sure it'll give you more of the flavor of this beautiful paper lantern festival. 

Happy sewing! xoxo Grandma

You can get some of the items I mentioned in this post from Amazon:

Monday, February 13, 2017

How to Create Bingata - Okinawa Fabric Art


Have you ever heard of bingata? I was first introduced to it when I visited Okinawa, Japan in 2014.  It's different from painting on fabric because you use a stencil to create your design.  A stencil means anyone can learn to create bingata.

Bingata is Okinawa's traditional way of dying fabric using stencils and bright dyes.  This art form has been around for over 500 years and was used by the samurai-class and the royal family in the Ryukyu Kingdom. 

I'm certainly not an expert on the history of this fabric art form, but I do know that I love the bright colors associated with it. It is beautiful! And since I love learning about fabric art, bingata intrigued me from the moment I saw it.

For more information about it's history, go to Shuri Ryusen site. 

During my latest trip to Japan (where my daughter and her family lives), my daughter and I took a class from Bingata Kijimuna which is in Nago on the island of Okinawa.


These are the brushes we used to create our bingata.  Every color of dye needs it's own set of brushes.  The smaller brush is used to add the shadow dye to the fabric and the bamboo brush is used to scrub the shadow color into the fabric. The bamboo brushes were made by the shop owners. Their bristles are short and stubby. They are made from bamboo that grows on this tropical island with bristles that are actually human hair. In the background, you'll notice a darling flower shaped paint pallet. I just love how cute this paint pallet is!

To give bingata a whirl, follow these steps below. You may just love it as much as I did.


  1. Start with your choice of a stencil.  This is the stencil I used. (I'm the older lady in the white shirt.)
  2. Lay the stencil onto pretreated fabric (pretreated fabric just means you've washed the fabric and dried it in a hot drier). Squeegee on rice paste through the stencil onto fabric.
  3. Carefully remove the stencil.
  4. Use a blow drier to completely dry the rice paste.
  5. The dried fabric will look like this.
  6. Get out the fabric dyes and put into small containers or a paint dish. 
  7. Using a small brush for each color, paint the dyes onto the fabric with the brushes by rubbing them into the fabric.
  8. This is my daughter and I working on our projects in the shop. Once your basic colors are brushed onto the fabric, use a blow drier and completely dry them.
  9. The second layer of paint is added next.  These are the shadow colors. Add the shadow colors into selected areas of the design with a smaller brush.  See the chart below to know which shadow colors are used with which basis dyes.  With the bamboo brush, scrub the dyes, feathering the dyes into the main color.
  10. Once finished painting the shadow dyes into the fabric, blow the dyes dry.  Below is a close-up of what the fabric will look like before the rice paste is washed off.


This color chart for creating bingata was made by the shop, Bingata Kijimuna, where we took our lessons. There are only 12 dyes used in bingata. The 12 colors are yellow, orange, pink, red, purple, burgundy, kelly green, sky blue, brown, grey, navy blue and a dark brown. The second column on the chart shows which four shadow colors are used with which main dyes. The only shadow dyes used are red, brown, navy blue and kelly green. (Any thicker fabric dye should work.)

Once your dyes are dry, you must wait at least 48 hours to wash the rice glue off your fabric.  This step is done by putting your fabric in very hot water and letting it sit there for about 4-6 hours.  At the end of that time, some rice glue may need to be scrubbed off.  I simply turned on the hot water and with my fingers scrubbed those areas.


This is my finished bingata design. This design is called "cherry blossoms and running water." To see the variety of traditional designs, go here. There are some beautiful designs to chose from! 


My daughter painted her design onto a tote bag. This design is called "cherry blossoms."


The owners and artists, of Bingata Kijimuna are shown on the left.  They were friendly, warm and very helpful in teaching us how to create Bingata.  My daughter and I both loved our class! If you live near, or visit Okinawa, go take a class. If you love fabric art, be brave and gather the supplies to experience this fun, traditional art form.  xoxo Grandma

For Supplies go here:
 

For more information on bingata see these books:


You might also like this post:

Monday, September 14, 2015

Lions and Tigers and Bears - Oh My, What a Refashion!


Lions and tigers and bears, oh my! This was a fun refashion project!  If you'd like to have some fun with old tee shirts, this is the refashion for you. Gather together five old tee shirts: yellow/gold, orange, brown, white and a small piece of black. Or whatever color combination suits you best.  


Next, you'll want to download the free pattern for your lion, tiger and bear here.

Now grab some scissors and cut out around the outside lines of the patterns. Pin the patterns onto the appropriate tee shirt scraps and grab a Clorox bleach pen.

 Follow the instructions found here. Once the design has bleached through the fabric, wash the bleach out with soap and water.  When the fabric has dried, you'll need an orange and brown permanent marker, a paint brush and rubbing alcohol.  Let's start with the lion.  Take the brown permanent marker and lightly outline the lion's details.  Add a little marker for shading around it's ear, nose and tail. 


Now, time to play with your tiger.

Using this technique, you'll draw details onto the tee shirt fabric by adding a little orange and brown ink to the areas as shown above.  Don't laugh, but I drew on my fabric upside down and realized it when I went to add the stripes. It didn't really effect the outcome except I had to re-bleach a couple of the areas.


Use a glue stick and small shapes of black knit fabric which has been cut into tiger stripes.  To make the tiger stripes, just cut a bunch a random shapes that have a point on one end.  Glue the stripes onto the bleached tiger shape using the glue stick. Press the stripes in place.  


Using a really small zig zag stitch, sew the stripes onto the tiger. I fluctuated my zig zag stitch from 1.5 to 2.5 wide.


And here's a close-up of the bear which was bleached right onto the fabric of the bottom layer of the dress:

For the pattern, I used a peasant dress style, Simplicity 2377.

Between the animals, I machine embroidered a leaf design and then the words, "OH MY".  


The brown knit tee shirt I used had a sheer chiffon fabric as an overlay. I used that fabric to make the sleeves. The only thing I changed from the original pattern was to the bodice area. It just hung really baggy on my granddaughter, so I made a casing which allowed me to take that area in with elastic.


The headband was made from 1" stripes of the remaining brown knit tee shirt. I found a good tutorial on how to make it here.


Knit dresses are super comfortable. As we walked around the yard taking photos, I couldn't help myself and chanted to this cutie, "Lions and tigers and bears! Oh my!" She's never seen the "Wizard of Oz" movie yet, I'm not sure how a four year old would deal with the wicked witch or the flying monkeys... which really scared her aunts and to this day they hate that movie! What do you think, is she too young for this movie? We'll probably hold off. For now. -xoxo Grandma

Thursday, April 16, 2015

A Bike Lovers Sling Bag


After making my first sling bag over the weekend, I realized I had enough materials on hand to make one more. This biking fabric was my inspiration for this sling bag:


If you want to make a sling bag too, go to Sugar Bee Crafts to get a copy of this free pattern.


This time around, I turned my black and white strip fabric diagonally before cutting out the basic fabric. I joined the side panel pattern pieces and made one large panel.  Then I got down to some serious fabric embellishing using hand and machine embroidery, ribbon and tiny silver rick rack for the bike's chain.  I love how using different embellishments transpose these hand drawn images into both a vintage and contemporary looking bike.  


I also added a large black button to the panel with the vintage bike and an enclosure loop to the other panel to keep this bag's contents inside.

To this bag, I added two pockets about the size of a cell phone onto the sides of the embellished panels. I know a lot of kids have cell phones but I'm betting my granddaughter would rather have her pockets filled with her favorite books and maybe even some crayons.


I'm really happy with the way my bike lovers sling bag turned out! Don't be surprised if I make another one of these bags, this pattern is just so much fun! xoxo Grandma

This project has been linked to Project Run and Play April project, Nap-time Creations, Crafty Allie.

You might also like these related projects:

Wednesday, April 15, 2015

Spring Sling Bag


What says spring to you? Is it caterpillars emerging into butterflies, the color of green grass, flowers blooming or maybe it's a new bag with pockets? These are things I thought about as I designed this reversible spring sling bag.


This is the first sling bag I've ever made and only my second attempt at even making a bag.  This basic project was selected by Mandy with Sugar Bee Crafts as April's Project Run and Play project.  The pattern was easy and fun, so hop over to Sugar Bee Crafts and download your free pattern. 


To start off this project, I knew that pockets were an essential item to add to any bag so I added two pockets to my sling bag.  For the first pocket, I had a little fun using the Sharpie fabric art technique found HERE and added an image of a caterpillar morphing into a butterfly. To make the image pop, I also added a few embroidery stitches to this design.  The second pocket was taken from the bodice of a knit tee shirt which was left in my refashion pile. I loved the floral sewn design on the fabric and thought it would make a fun pocket on the black and white stripped side. I simply took a little of the knit fabric and finished off it's edge and sewed it onto the bag.  I also love the details the buttons gave to this pocket.


I love that the bag was designed to be reversible. 

If you decide to make this bag, here's something you may want to consider: turning the bag inside out is TRICKY! As I was turning the bag right side out, it was incredibly difficult to reverse it!  I'd cut the pattern down quite a bit because my granddaughter is a petite four year-old and the bag pattern was designed for a 9 year-old. Plus, I'd added bulk with the addition of the pockets. So, the entire time I was trying to flip it, I was thinking it wasn't going to work. Relief washed over me as I finally, FINALLY got it after much tugging. I agree completely with the directions as they state it's tricky to do this.  

I love this little spring sling bag and have already started another bag, which I'll show to you soon!  xoxo Grandma

This project made it to one of ten selected for voting, please go HERE to vote for it.  Thank you!

You might also like these projects:
Here
HERE

Linked to: Nap-time Creations, Crafty AllieProject Run & Play

,

Tuesday, February 10, 2015

Coral Dyeing Experience - Fun & Easy Fabric Art


A few weeks ago, I went to Okinawa, Japan to visit my daughter's family.
While looking for a place to park to tour Shuri Castle in Naha, we came across a cute shop called Shuri Ryusen.  At this quaint shop, I noticed beautiful scarfs and other fabrics which were decorated with coral stamped images. When we entered this shop, we were handed a brochure in English, which explained that they offered classes to learn this technique. I was smitten, I had to attend this class. We signed up immediately.


Photo not taken by me it can be found HERE.
So, one of the last things my daughter and I did before I left Okinawa was take a coral dyeing class at this shop.  While briefly instructed in English on how this technique is applied to fabrics, soft Japanese music played in the background making this shop a peaceful haven for creativity.  

We were first instructed to choose what we wanted to stamp on.  A few of the items we could decorate were a t-shirt, scarf or a tote bag. We chose to decorate scarves.

Next, we were shown four dyes (red, yellow, blue and purple) and how to apply them using a stamping tray. We were also given a chart which showed us how to mix the dyes to make other colors.

The tables held a lot of different corals with a variety of textures on each one.  The smaller pieces were adhered to cement blocks.  There were really large coral pieces too.  All the coral pieces were cut flat so the fabrics would easily lay down onto the coral.  If the coral was smaller, once the fabric was laid down onto the coral, an elastic was stretched over the fabric to keep it in place while you rubbed the dye over the fabric.

A small sponge was wrapped in a cloth which we blotted into the dye.  Then the sponge was rubbed across the surface of the coral.  The lightest dye color was to be applied first followed by darker colors.

The coral dyeing experience was supposed to take just 30-40 minutes but we took a lot longer because we were having so much fun!  

Once we finished our designs, we were invited to go upstairs into a designers studio to watch other artists dyeing fabric items.  Here's another detailed article about this shop.

Here are a few coral designed items that I thought looked great:


Here's how my scarf turned out:


Does coral dyeing sound like something you'd like to try? If so, you'd first need some coral. If collecting coral, be careful not to remove any live pieces from the ocean especially red and black coral because that would be forbidden according to international laws. Luckily, coral that has washed up on the beach is alright to collect but it would be advisable to check the local laws to confirm before you put pieces into your suitcase. If you already have some coral, you are on your way to a very fun craft project.

This is such an easy and fun fabric art technique! I hope you try it! 
xoxo Grandma