Showing posts with label Gift Ideas. Show all posts

Thursday, August 3, 2017

Simple Baby Boy Gifts to Sew


Do you need a perfectly simple, yet cute baby boy gift? Today, I'm sharing with you two of my favorite gifts to sew. 

This bow tie and these baby booties both take around 30 minutes to whip up from start to finish, which makes them top contenders for simple baby boy gifts. Plus, look at them... they're darling! 


The free pattern called "Baby Booty" includes a photo tutorial. You'll find this on Michael Miller Fabrics blog. It can be downloaded here.  Once you download this pattern, I'm suggesting you do the following to improve the sewing process just slightly:
  • Step three states to use a seam ripper to rip an opening for the elastic. I think it looks nicer to make buttonholes for the opening instead.
  • Baste the top & top lining and the heel and heel lining before you sew them onto the sole.
  • Add batting between the soles. This gives the soles warmth and cushioning.

This dapper bow tie always impresses a new mom or dad. You'll find the free pattern and tutorial here. For fun, if you have enough fabric, make a matching bow tie for the Dad to be.

Find an hour in your day, grab some scrap fabrics and sew up these two baby boys gifts.


You won't regret making a few extras to have on hand for the next baby shower you're invited to. xoxo Grandma

Wednesday, December 14, 2016

Twenty-two Favorite Handmade Toys


One of my favorite things to sew are toys.  I just love creating a little treasure to take with me on a trip and give to my grandchildren.  Below is a list of some of my favorite toys that I've made, along with links to all the details of how you can make it too.  And BONUS: most of these little creations include a free pattern.  So, if you're in the mood to get your creative juices flowing, dig right in! This list is for you. 


1.  Miniature Stuffed Owl, free pattern and tutorial found here


2.  Long Legged Santa, a free pattern found here.


3.  Long Legged Rabbit, here.

4.  Seahorse toy, free pattern and tutorial found here.


5.  Teepee, big enough for an adult to stand up inside.  Link to the post here.


6.  Stick Pony from a sock tutorial, found here.


7.  Snowmen from scraps of fabric. Check out this post.


8.  Nativity Finger Puppets, here.


9.  Franklin the frog, here.


10.  A little miniature doll and some doll clothes too, found here.


11.  A fabric fairy house made from an old sweater (or felt). Go to this link.


12.  A fairy cottage made from an old sweater (or felt), here.


13.  This little toy elephant is found here


14.  A toy fish, perfect for a young child. Learn how to use a toy rattle to put inside a toy for pennies, here.


15.  Stuffed monsters, free pattern and full instructions here.


16.  How to create more stuffed monster toys with ideas on how to vary the pattern here.


17.  Stuffed Monkey, link to the free pattern and ideas on how to make a girl or boy monkey. Go to this post.


18.  30 Minute Stuffed Animal, complete directions on upcycling a tee-shirt found here.


19.  Make a mini beaver, link to the pattern found here.


20.  Doll sized 1950's poodle skirt found here.


21.  Doll sized travel suitcase tutorial.


22.  Make a few bendable fairies.  For inspiration, go to this post.

The best thing about this list is that most of these posts offer a simple tutorial that you can use to create your own ideas. Go ahead and make a new toy for someone you love or better yet for a charity that you love. It might be fun to incorporate some of these creations into a New Year's resolution! 

Merry Christmas to everyone!    xoxo Grandma

Monday, July 25, 2016

Handmade Christmas - Christmas Tree Hot Pads

I

Whenever Christmas time rolls around, I am always stumped over what to give my neighbors. If you have a similar problem, then I have a simple solution for you. Ever heard of "A Handcrafted Christmas?" It's a group of creative bloggers who have joined together for a monthly Christmas Blog Hop where one of us will be making a fabulous handcrafted Christmas gift to inspire and re-create each month.  Our goal is to make a gift a month so that by the time Christmas rolls around we'll have at least 12 gifts ready for the holiday season.  

This is my month to host "A Handcrafted Christmas," and my gift is Christmas tree hot pads -- perfect for neighbor gifts.  You can use scraps of fabric and ribbon to make these because no two hot pads need to look exactly the same. One added bonus to this post is that The Warm Company has agreed to give one lucky winner a yard of their "Insul-bright" lining. Simply follow this blog and leave a comment below and you'll be entered.

  1. Gather your supplies:  background & backing fabric 2) 9" x 9" (round all but the top left corner), lace and/or ribbon, Double fold quilt binding bias tape (cut in half) or extra wide double fold bias tape, Insulated lining like Insul-Bright,  tree trunk fabric: 1" x 2",  thin cotton batting is optional, thread, scissors and the free tree pattern found here.  For the tree pattern, make an rectangle 6 3/8" x 6 3/4" x 6 3/4" and cut out your trees.
  2. Position the tree trunk and then layer the tree shape slightly on top of the trunk and onto the background fabric. 
  3. Cut ribbon or lace and pin onto the tree, tucking the raw edges under the tree shape.
  4. With a straight stitch, sew the ribbon and or lace onto the tree shape.
  5. Change your stitch to a blanket stitch.  This is what it looks like on my sewing machine.
  6. Starting at the top of the tree, stitch all the way around the tree's shape.  Make sure to pivot around all the turns.
  7. Now you'll layer your hot pad.  The first layer is the tree, then the Insul-bright (insulated fabric), then a thin layer of batting, then the backing.  The backing is "sandwiched" between all the layers and the right side of the fabric will be facing out.  To keep my layers from shifting, I found that temporary spray glue worked the best and was the quickest way to keep those layers together.
  8. Take your seam tape and measure 4.25".  This piece will be sewn together first to create the hang tab.  Starting with the top left corner, at 4.25" open up the bias tape and pin one edge of the tape all around the back side of the hot pad.
  9. Sew the bias tape through all the layers.
  10. Wrap the bias tape around the front side and pin in place.  
  11. Fold the tab over until it touches the hot pad's edge and sew a square to hold the tab in place.
  12. When finished sewing the tab, it will look like this.  Sew close to the edge of the bias tape and all around the hot pad.
Your Christmas tree hot pad should look something like this:

Now, I hate to ruin any Christmas surprises, but if you're lucky enough you'll be getting one of these along with some melt in your mouth homemade rolls. Now that those Christmas gifts are already out of the way, I can rest a little easier come December. 

To enter the contest for free insulated lining to make hot pads, join this blog as a "follower" and then leave a comment.  

The Prize: One yard of Insul-Bright shipped directly to your home. Thank you to The Warm Company for sponsoring this prize!  This product can be purchased at your favorite fabric/craft store.  Just ask for it by it's name. 

The winner, Suzi who personally contacted me.  I love it when someone takes the time to let me know what they think.  xoxo Grandma 


Insul-Bright can be purchased from here:

Tuesday, November 18, 2014

Making Snowmen from Scraps


If you're like me, you probably have tons of scrap fabrics left over from past projects that you just can't seem to throw away.  I usually make doll clothes out of them, but when I saw this pattern I thought this would a fun and different way to use up those scraps. 


This project actually started back in June. I cut out six snowmen and some clothes for them. And then it got hot and I didn't feel like sewing them, nor did I want to think about winter and snow because that would mean I'd be shoveling and freezing!  I'm really not a fan of winter, are you?

Then a few weeks ago, when the weather turned a little colder, I finally felt ready to sew these together. But, of course, I couldn't find the pattern or the instructions.  After searching and cleaning a bit, I decided that I must have thrown them away. "Oh well," I thought, "it really doesn't matter because I usually change things when I'm sewing anyway." So, below is the outcome of pattern-less snowmen. 


For these snowmen's bodies, I used left over batting and the tiniest of noses from my Easter carrots free pattern found HERE.  For this snowman's hat, I used fur which was left over from making baby booties.  


This snowmen's coat and hat were from a fleece scarf one of my children made in a sewing class.  

This snowmen is wearing a nice warm refashioned wool sweater that a daughter left at home.  I had to work around a few pin holes that the sweater had but don't you think that this little snowman looks toasty warm in his winter looking attire?   


The scarf above was refashioned from a belt that I took off a jacket.  

In several of the snowmen's hands, I found some small ornaments that I attached with a few quick stitches.  I think these scraps of fabric made some pretty adorable snowmen.  Yes, snowmen from your scraps take on lots of personalities and are a fun way to use up your leftovers. 

Now that these snowmen are completed, if my children don't claim all of them, I'll be donating a few to my favorite winter charity, Festival of Trees. Happy scrapping! 
-xoxo Grandma

Tuesday, November 11, 2014

Five Super Simple Neighbor Gift Ideas for Christmas

It's that time of year again... when you get to figure out what on earth to give your neighbors for the holidays. It's always a dilemma, but hopefully these ideas will help!

I've put together five super simple neighbor/co-worker gift ideas. And the best part is they all cost under $3 each - easy on the pocket book. To make these gifts even simpler, I've created links so you can download the ready-made gift tags that are pictured with each stellar gift idea.

1.  Extension Cord: $2-$3 - "Extending a Merry Christmas" tag download HERE.


2.  Ice Pack: $2  - "You are Cool Neighbors" tag download HERE.


3.  Lighter and a bundle of wood - The lighter was $1 and wood can be purchased for a reasonable cost or free depending on where you live.  "May this handy tool help to bring light & warmth into your home this holiday season!"  Download tag HERE.


4. Rolls of Tape and Christmas tags- $1 for the tape and about 10 cents each for tags (see THIS post for six tag ideas.) - "Here's a Classic, that no home should be without at     Christmas time." Download the tag HERE.


5. Toilet Paper disguised as a snowman - under one dollar - "There's no hiding it....We know you'll use this gift during the holiday season!"  Download the tag HERE.  The eyes and nose were made from construction paper & glued to the toilet paper.  A regular hole punch was used to create the mouth dots.  I know, a dumb but practical gift.  It would be fun as a gag gift for a co-worker!


Which of these gift ideas is your favorite?  xoxo Grandma

Wednesday, July 2, 2014

Happy Summer Treat Bag - a Free Printable


What's more summery than watermelon?  Print out the header for this full color Happy Summer! treat bag HERE.  Fill a baggie with treats and staple the header onto the top of the baggie. Have a great 4th of July weekend! - xoxo Grandma

Linked at:  Nap-time Creations

Tuesday, July 1, 2014

The Joy of Pop-up Books

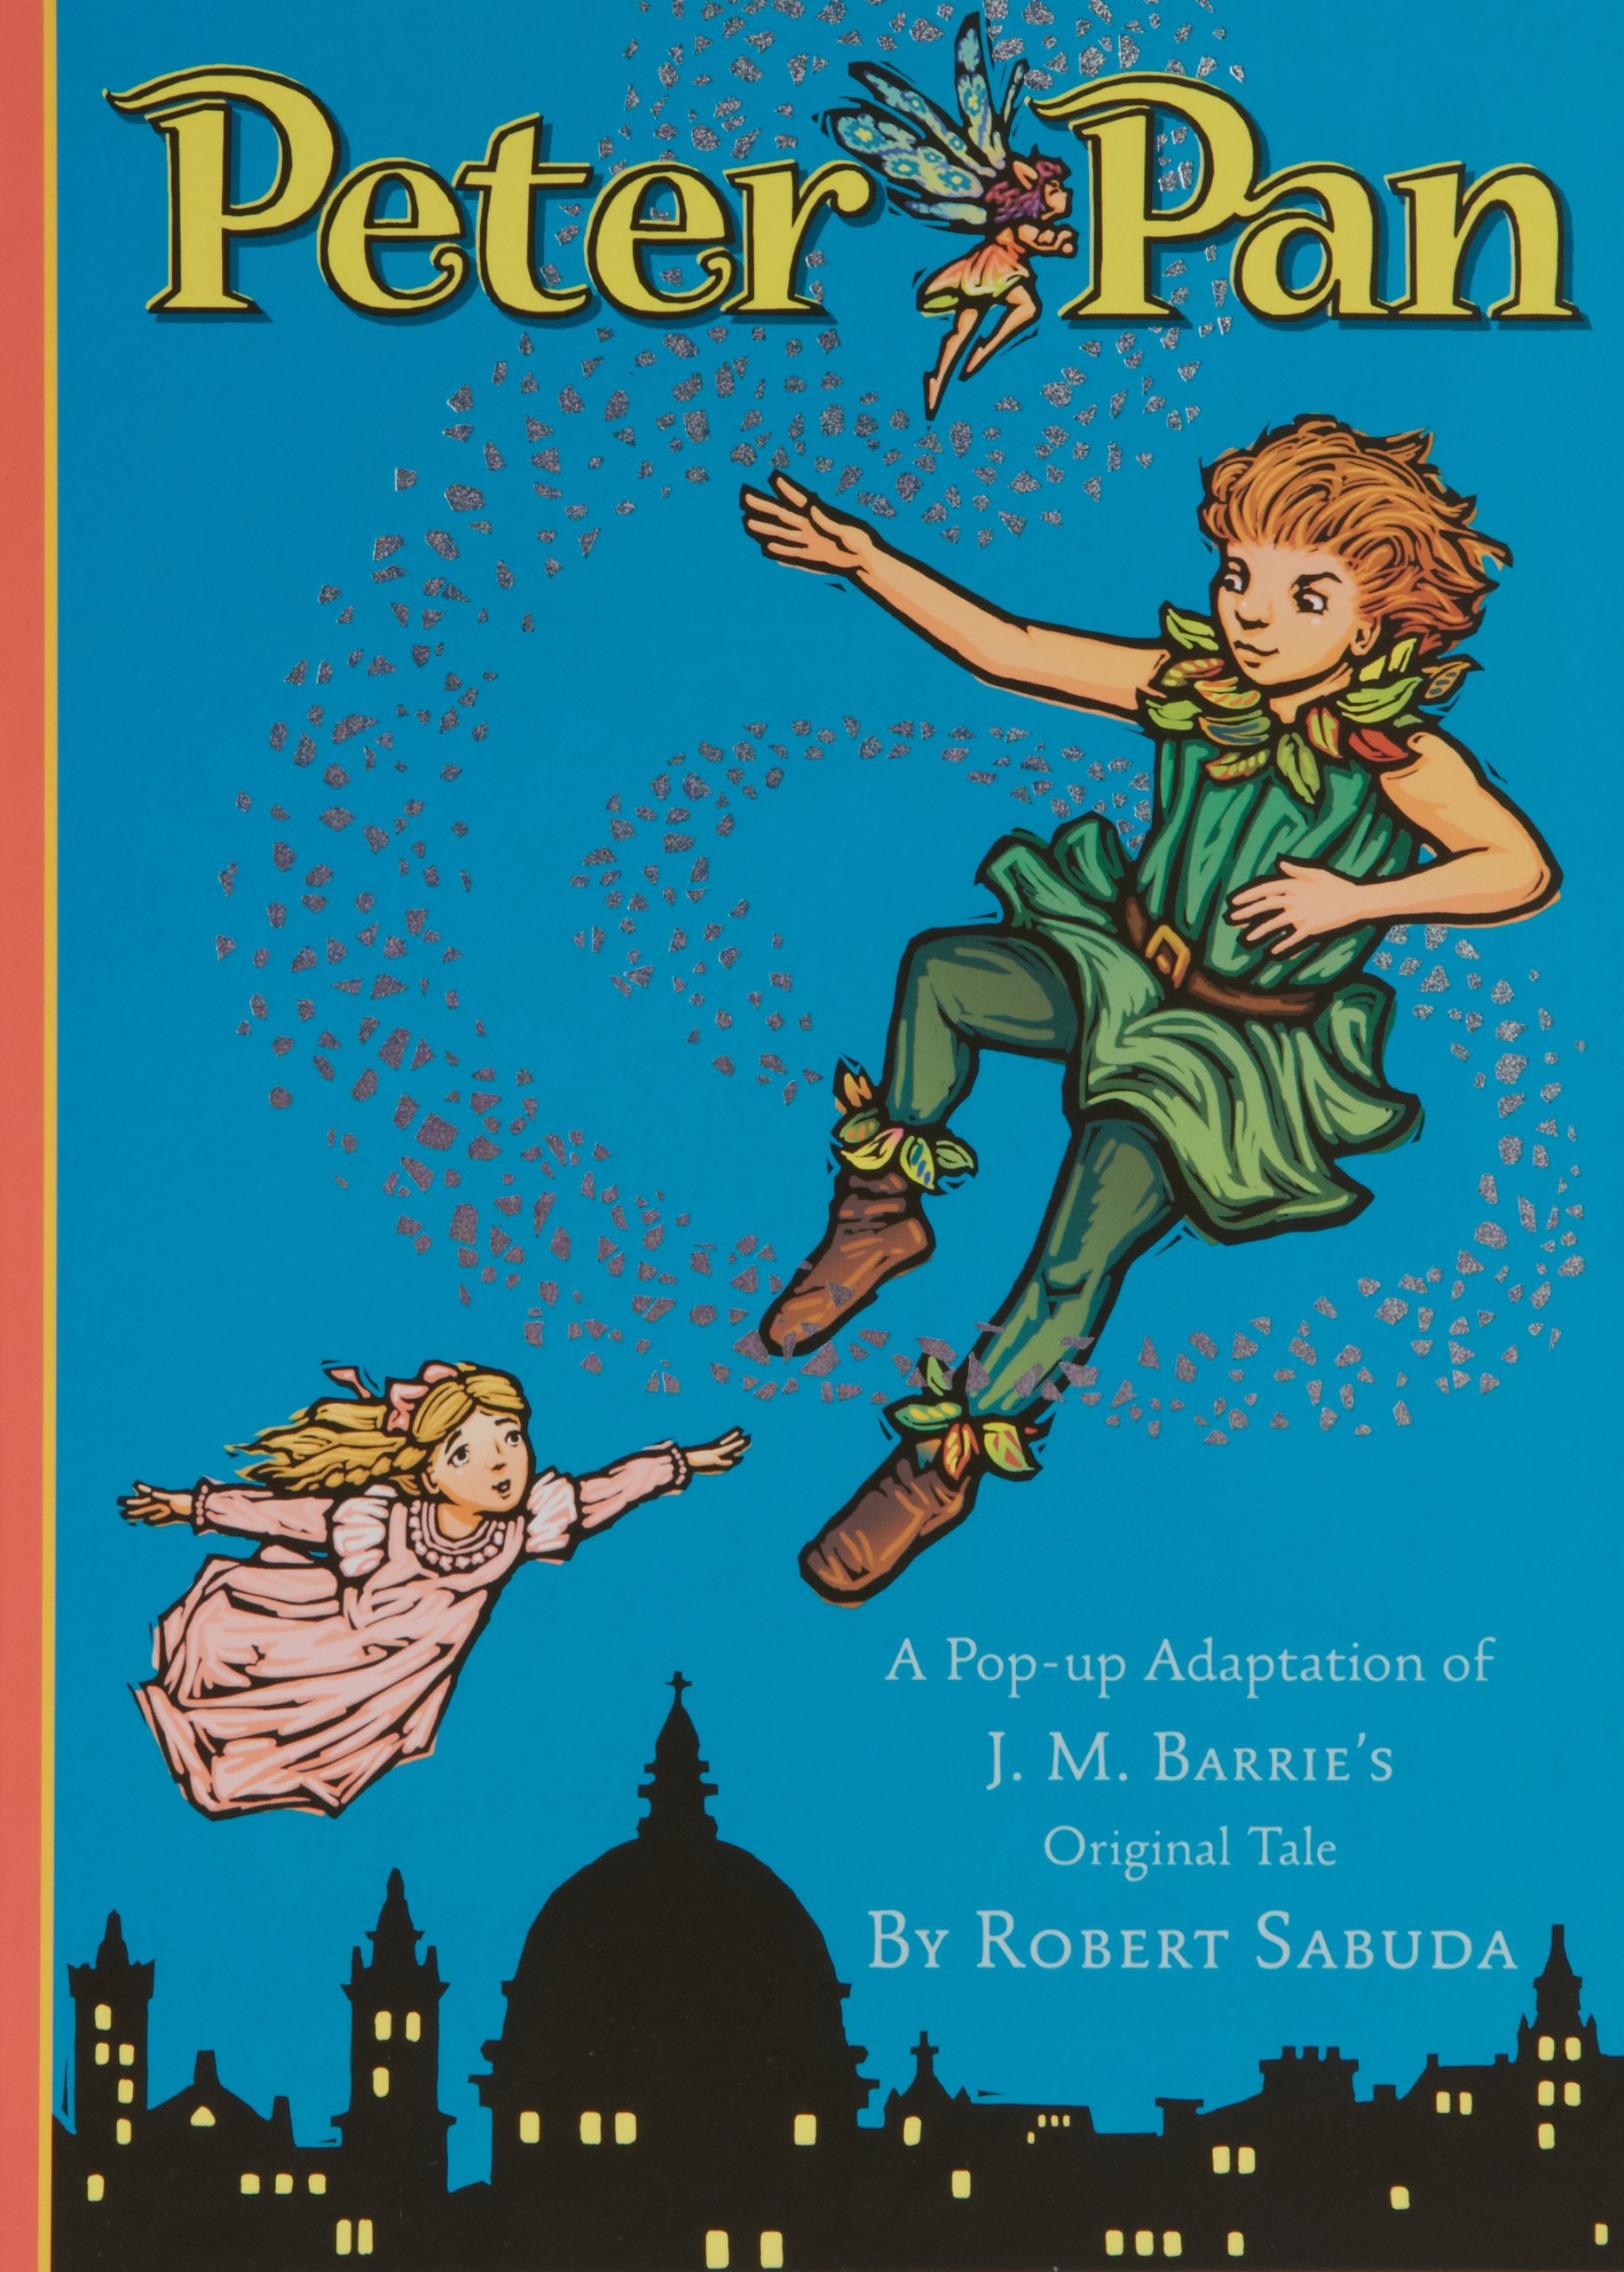
When my grandchildren visit, we read a lot of books. Their favorite, of course, are my pop-up books - no surprise there! The older grandchildren loved reading about Peter Pan, The Wizard of Oz and Alice in Wonderland.  All of these books are illustrated and engineered by Robert Sabuda.  


One fun thing that my grandchildren really liked about "Alice in Wonderland" is looking through the hole that Alice fell into while following the white rabbit.  

They love "The Wonderful Wizard of Oz" because of it's hot air balloon and the emerald glasses which are included in this book. 
"Peter Pan" has pirates, pixie dust and London. What child doesn't like those elements in a story?  When I read about the magic pixie dust, you should have heard the questions I got to answer... yup, pixie dust would sure be fun for a far-away grandmother to use.

All these books are a little long to read as bedtime stories (unless you're in no rush to put your kids to bed), but we had fun breaking it up and reading half of each book a few nights in a row.  

I hope you enjoy reading to your little ones - in three days I'll get to read to my grandchildren again!  Do you have a favorite book you like to read to your children or grandchildren? - xoxo Grandma