Showing posts with label Upcycled. Show all posts

Monday, April 24, 2017

20 Fabulous Ways to Repurpose Linens


If you read my blog often, you may remember that I inherited a lot of vintage linens several years ago. I was challenged to refashion them instead of letting them sit in a cupboard for another 40 or more years. Well, I've still got a few left to refashion, so I  searched the internet to see what else I could do with these vintage beauties. Turns out, there's a lot of ideas out there... 

I've put together a list of my favorites to bring you 20 fabulous ways to repurpose vintage linens.  

If you're wanting to try a new project with your vintage linens, then check out these projects and you may just be inspired too because I certainly was. I've attached a link to the inspiration for each project.


  1. Miniature Sized Doll Accessories.  This is one of the projects I made for my daughter's miniature doll house. I used a vintage hankie. The accent pillows are  1.25" x 1.25". The miniature bedspread is 4 1/8 " x 4 1/4 ". Each accessory was sewn with a 1/4" seam. I've never written a post about this idea and I made these so long ago that I can't even remember where this inspiration came from. But they sure are cute, aren't they?

2.  Accent Pillows from linen napkins.  See Garden of Daisies for more inspiration. 


3.  Add pizzaz to a pocket by using vintage linens. Link here.


4.  Make a child's dress or skirt from a pillowcase. Link here.


5.  Turn a linen napkin into the yolk of a child's sundress. Tutorial here.


6.  Turn a hankie into a burp cloth, the above is what I made after reading this post by PolkaDot Chair. She backed her burp cloths with chenille and edged them with rick-rack. They are beautiful!  The one above was trimmed with pink and white gingham bias tape and lined with baby fine terry cloth fabric.


7.  Add trim onto baby leggings from the edges of linen napkins.  Inspiration here.


    8.  A peasant shirt from a linen table runner. Post found here.
    9.  Two placemats into a sunhat.  Tutorial found here.

10.  Doll apron from a linen napkin.  Found here.


11. Covered buttons from linen napkins.  Inspiration found at Isa Creative Musings. Tip: Use spray adhesive onto the back of the cut out linen to keep the middle of the design in place while putting the backing onto the button.


12.  Linen napkin into a small bag.  Tutorial found here.


13.  Purse from a doily and jeans. Tutorial found here.


14. Doll Top refashioned from a lace trimmed hankie.


15. A Clutch linen napkin made by Rubyelle from About: Cakies.


16.  Hanger Covers from pillowcases were made from My Salvaged Treasures.


17.  Pin Cushions from vintage linens by Isa Creative Musings. She has an amazing variety of these and I love how she puts the pin cushions into vintage Jell-O molds.


18.  Valance  from a variety of handkerchiefs colorful and light add a light, airy feel to a room were created by Bev of Flamingo Toes.
19.  Bunting Garland from a variety of vintage linens by Pink Roses and other passions.


20.  Clothes For Stuffed Animals created and sold by Ashlee at My So Called Crafty Life.
    For more ideas, check out "Vintage Handkerchiefs & Scarves Upcycled and Repurposed" found  at Dishfunctional Designs here.  My favorite idea was the quilt.  The detail on her quilt is over the top amazing!  If you want more ideas for sewing projects using vintage linens, see "Sewing With Vintage Linens." Another fun book is "I Like My Skirts Fast and Cheep: a Beginner Project Using Vintage Linens.
A couple of weeks ago, I gathered my dwindling pile of linens and made a few of the buttons, one burp cloth and an accent pillow. These projects were super easy and who doesn't love easy projects?!

I saw a table runner that used a lot of vintage linens and scraps of trims and I could kick myself for not saving the photo of the project when I first discovered it. It was lovely. So, until I find it again and get a lot more motivation for a tougher project, I'll stick with the easy ideas. Which project do you like the best?   xoxo Grandma

For more ideas on sewing with vintage linens & the best little sewing scissors go here:

Monday, April 17, 2017

Linen Napkin Into a Bag - A Tutorial


If you follow me, you may remember that I inherited quite a few linen napkins several years ago. When given these napkins, I was challenged to use them and transform them into something else. So, here is one of the ideas I created... a darling linen hand bag.

To create this small, fully lined zipper bag, I used one of those linen napkins for the front of my bag.

I wanted my pocket to hold my cell phone. When I go on international trips to visit a few of my grandchildren, I take a backpack onto the plane.  I wanted to use this little bag to tuck into my backpack so that when I'm at their homes I still have a smaller bag to take with me shopping and sightseeing. This bag is the perfect size.

To make this project, you'll need:
  • Fabric scraps at least 8 1/4" square
  • Light weight batting
  • 1) 7" zipper
  • Coordinating thread
  • Bag handle - 12" long (I found mine at the 100 yen store in Japan called Daiso.)
Cut as follows:
  • 3) 8 1/2" squares - fabric bag back & bag lining
  • 1) 6 1/2" long x 8" wide - fabric rectangle cell phone pocket
  • 2) 6 3/4" long x 2 3/4" wide - fabric pocket flap (The lining can be from a different fabric.)
  • 2) 8 1/2" square - batting
*All seams 1/4"
  1. Right sides together, fold the pocket fabric in half and pin.  Sew the 3 sides together leaving an opening to turn the pocket right side out and iron.
  2. Round the bottom corners of the flap.  Right sides facing, pin the flap together. Sew the flap leaving an opening at the top of the flap.  Turn the flap right side out and iron.  Top stitch around the sides and the bottom of the flap.
  3. Center the pocket onto the bottom portion of the linen napkin an at least 1" from the bottom.  Pin the pocket in place and top stitch around the sides and bottom.  1/2" above the top of the pocket, pin the flap.  Top stitch along the top of the flap.
  4. Unzip the zipper and sew one side of the zipper into the linen napkin.  Make sure the zipper pull is facing the right side of the napkin.  Turn the napkin over and on the right side of the napkin, top stitch along the edge.
  5. Turn the project over and add the other side of the zipper to the back of the bag.
  6. Take the bag linings pieces and baste the light weight batting to the linings. Sew one side each to the top, wrong side of the zipper. 
  7. Top stitch one more time to keep the lining and the front of the bag from getting caught in the zipper.
  8. Another detailed look at the top of the bag.
  9. One last detailed look of the top stitching on the back of the bag.
  10. Turn the front and back of the bag right sides together and pin.  Sew together pivoting at the corners.  Clip the corners.  Make sure the zipper is open for this step.
  11. Repeat step 10 with the lining pieces only leave an opening to turn the whole bag right side out.  Clip corners and turn right side out.  Tuck the lining into the bag.  Either machine or hand sew the opening closed.

12. Clip the bag handle onto the zipper's pull tab.


I hope you have fun repurposing your linen napkins! Maybe your own little linen bag will get to go on some fun adventures too!  xoxo Grandma

You might this post:
20 Fabulous Ways to Repurpose Vintage Linens

For the best little sewing scissors you'll love:

Monday, February 20, 2017

41 Awesome Refashions for Kids


Is your money a little tight this month? We've all been there. If you have growing kids, or grandkids, it seems like their wardrobe is ever-evolving with how fast they grow. Well, I have an easy and money-saving solution for you. 

I'm almost positive you or someone else in your house has something hanging in a closet or stuffed in the back of a drawer, that they no longer wear. Am I right? If not, hit up your local second hand store because they usually have plenty of decent items. Most second hand stores even help charities, so your money will go to a good cause. Either way, pick out some old clothes you are willing to part with and get to work. Your child is about to get an updated, affordable wardrobe! 

Below is a list of 41 awesome refashions just for kids. 

1.  Gap Knock-off Tie Dress & Romper - Free Pattern refashioned from a women's button-up shirt.
2.  Refashioned Lace Dress from a women's dress.

3.  Refashion Licensed Apparel - Tutorial 

4.  Easy Breezy Summer Dress from women's top.


5.  Green Floral Romper- from a women's dress. 


7.  Autumn Overalls from women's pants. 


 9.  1 1/2 Hour Toddler Dress  from a men's dress shirt, tutorial


  10.  Classic Lace Dress for a Newborn from a women's dress.


Made out of 4 t-shirts includes free patterns.

12.  Floral Sundress - Toddler Size from an adult dress.


13.  It All Started With Butterfly Leggings from a women's dress shirt.

14.  Cinderella Pajamas from an adult size t-shirt. 

  15.  Toddler Cascading Ruffle Dress: a Refashion from a women's top.


  18.  Hand Me Down Blues Dress from a skirt.


19.  Pocket Pizzazz on a Yellow Gingham Dress from a placemat. 


20.  Just Call This a Polo Shirt from a men's shirt.


25.  A Sunhat From 2 Placemats - Tutorial
  26.  Summer Outfit  leggings were made from a t-shirt.

27.  Tank Tour SF Baseball Style created from 2 t-shirts.

28.   Make a Baseball Cap - Free Pattern & tutorial refashioned from a onesie. 


29.  Annie's Dress refashioned from an adult dress.


30.   Toddler Size Shorts refashioned from women's pants. 

Refashioned from women's dress pants & a men's dress shirt. 

32.  Transforming a Camisole Into a Sunsuit includes a step by step tutorial.

33.  Sweatshirt and a t-shirt into an Aviator Jacket.

34.  Warmed Lined Baby Booties from a leather coat and a coat's lining.
Free pattern and complete tutorial.


36.  Oh Matilda!  The yolk was cut from a battenburg pillowcase.

37.  Easy Back to School Skirt from a t-shirt - free tutorial.

38.  Pants into Adult & Toddler Shorts from adult pants.


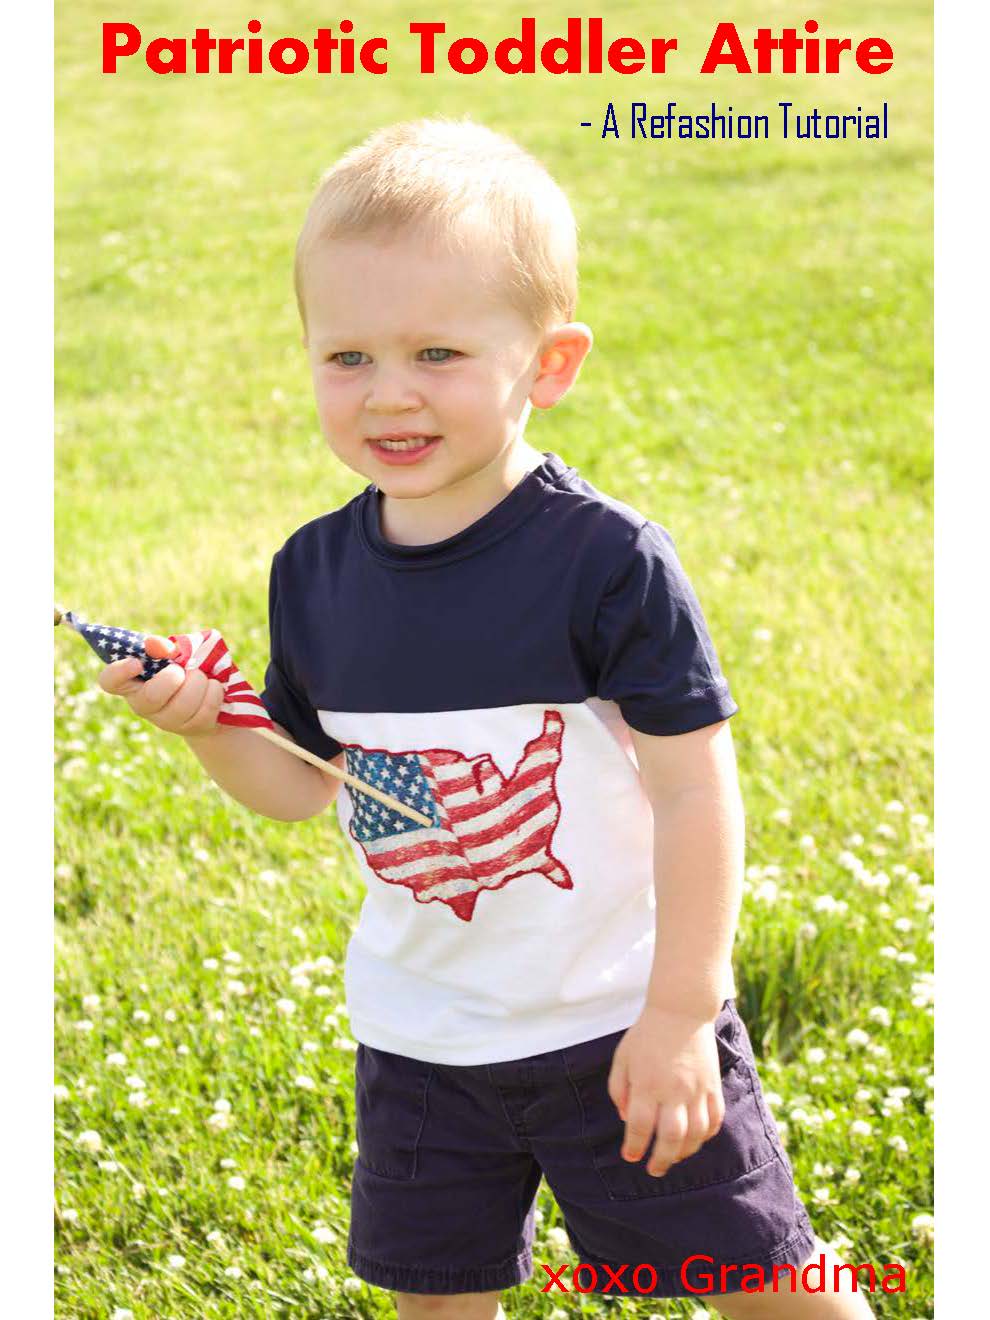
39Patriotic Toddler Attire from 3 t-shirts.

40.  Easy Fall Dress from an adult's top - tutorial.

41.  Sandcastle Dress from an adult dress - free sandcastle pattern.
Which refashion project do you like best?  

Let me know if you have any questions about any of these items. I'm happy to help brainstorm a way for you to get use out of some of your old clothes. Half the fun is thinking up ways to use it!  xoxo Grandma

For more refashioning ideas, check out these books:

You might enjoy reading Refashioning Tips & Tricks: